1 How to activate the link
- Download and install (as administrator) the latest version of IDEA StatiCa
- Make sure that you are using the supported version of STAAD.Pro
To integrate the IDEA StatiCa plugin into STAAD.Pro, open the BIM link installer: under the BIM tab, select Activate your BIM link (1). You may be asked by the operating system to confirm access (2).
Select the Install button (3) next to STAAD.Pro. You should see the "Installed" status now.

To verify that the plugin was installed, open an STAAD.Pro project, click on Utilities tab> User Tools and IDEA StatiCa Checkbot button should be listed.

If IDEA StatiCa Checkbot is not listed, you can add the plugin manually:
- Under Utilities (1) in the top ribbon, select Configure (2). Here, add the plugin as a new user-defined tool (3)
- Command (4): C:\Program Files\IDEA StatiCa\StatiCa 25.0\IdeaStaadProPlugin.exe
- Initial Directory (5): C:\Program Files\IDEA StatiCa\StatiCa 25.0\

Confirm by OK (6).
The IDEA StatiCa plugin has been added and can be accessed under User Tools now.
Please see the remarks about the limitations of this BIM link.
Known limitations for STAAD.Pro
For now, the link works for a wide variety of connections/joints. However, please take into account yet unsupported functionality.
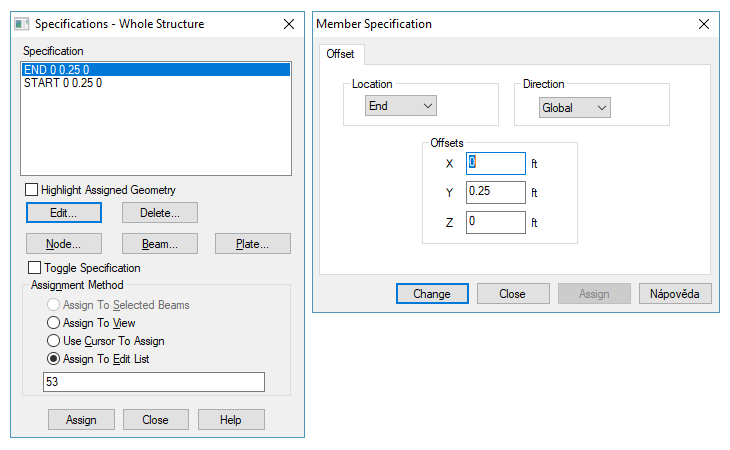
Limitation: Geometrical eccentricity - joint node is not in the central point
Workaround: Import the joint and move the beams manually to the proper positions. Imported internal forces include the eccentricity effects, only the geometrical offset is missing.