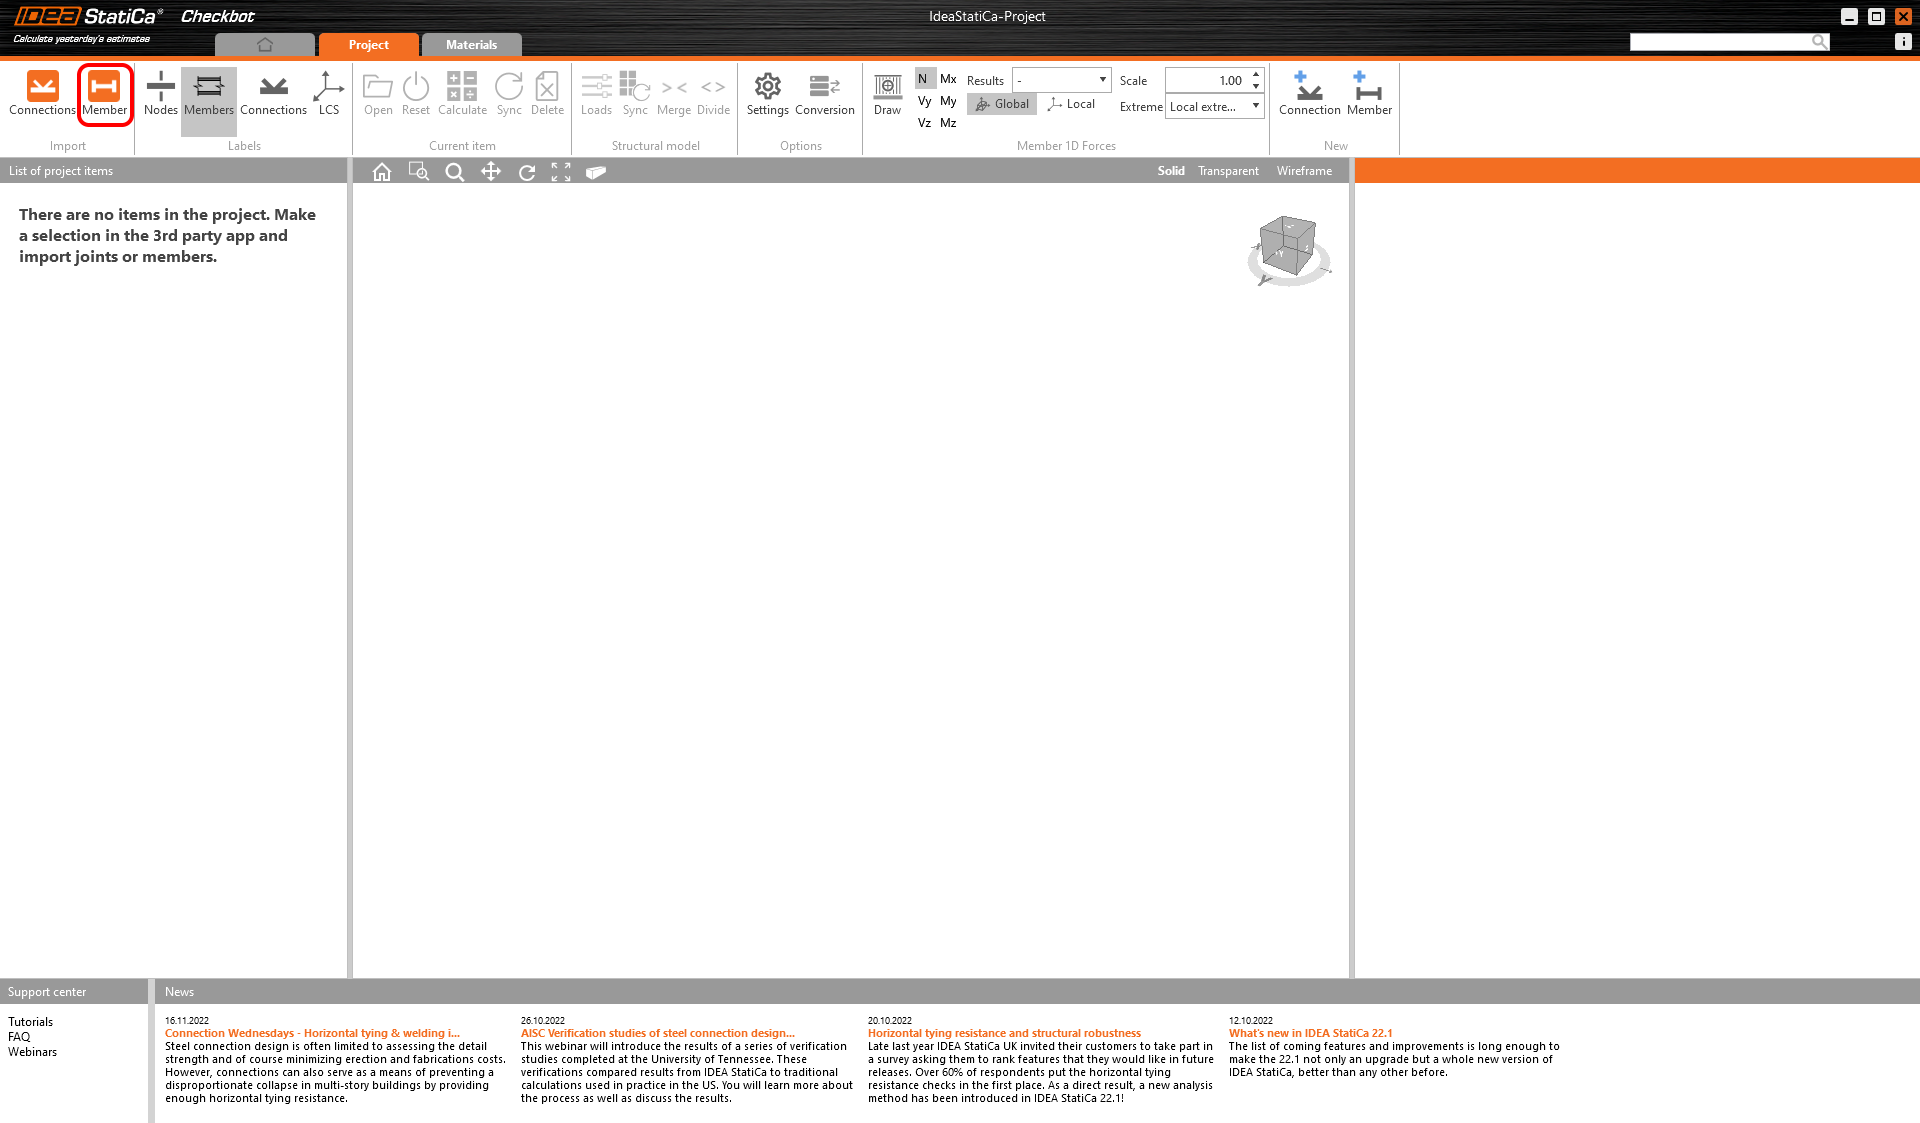
Then in Checkbot select Member.
This will import the beam and its load effects into Checkbot - with the same coordinates, orientations, and section sizes as per the FEA/BIM model.
Please note that your node and member numbering might be different.
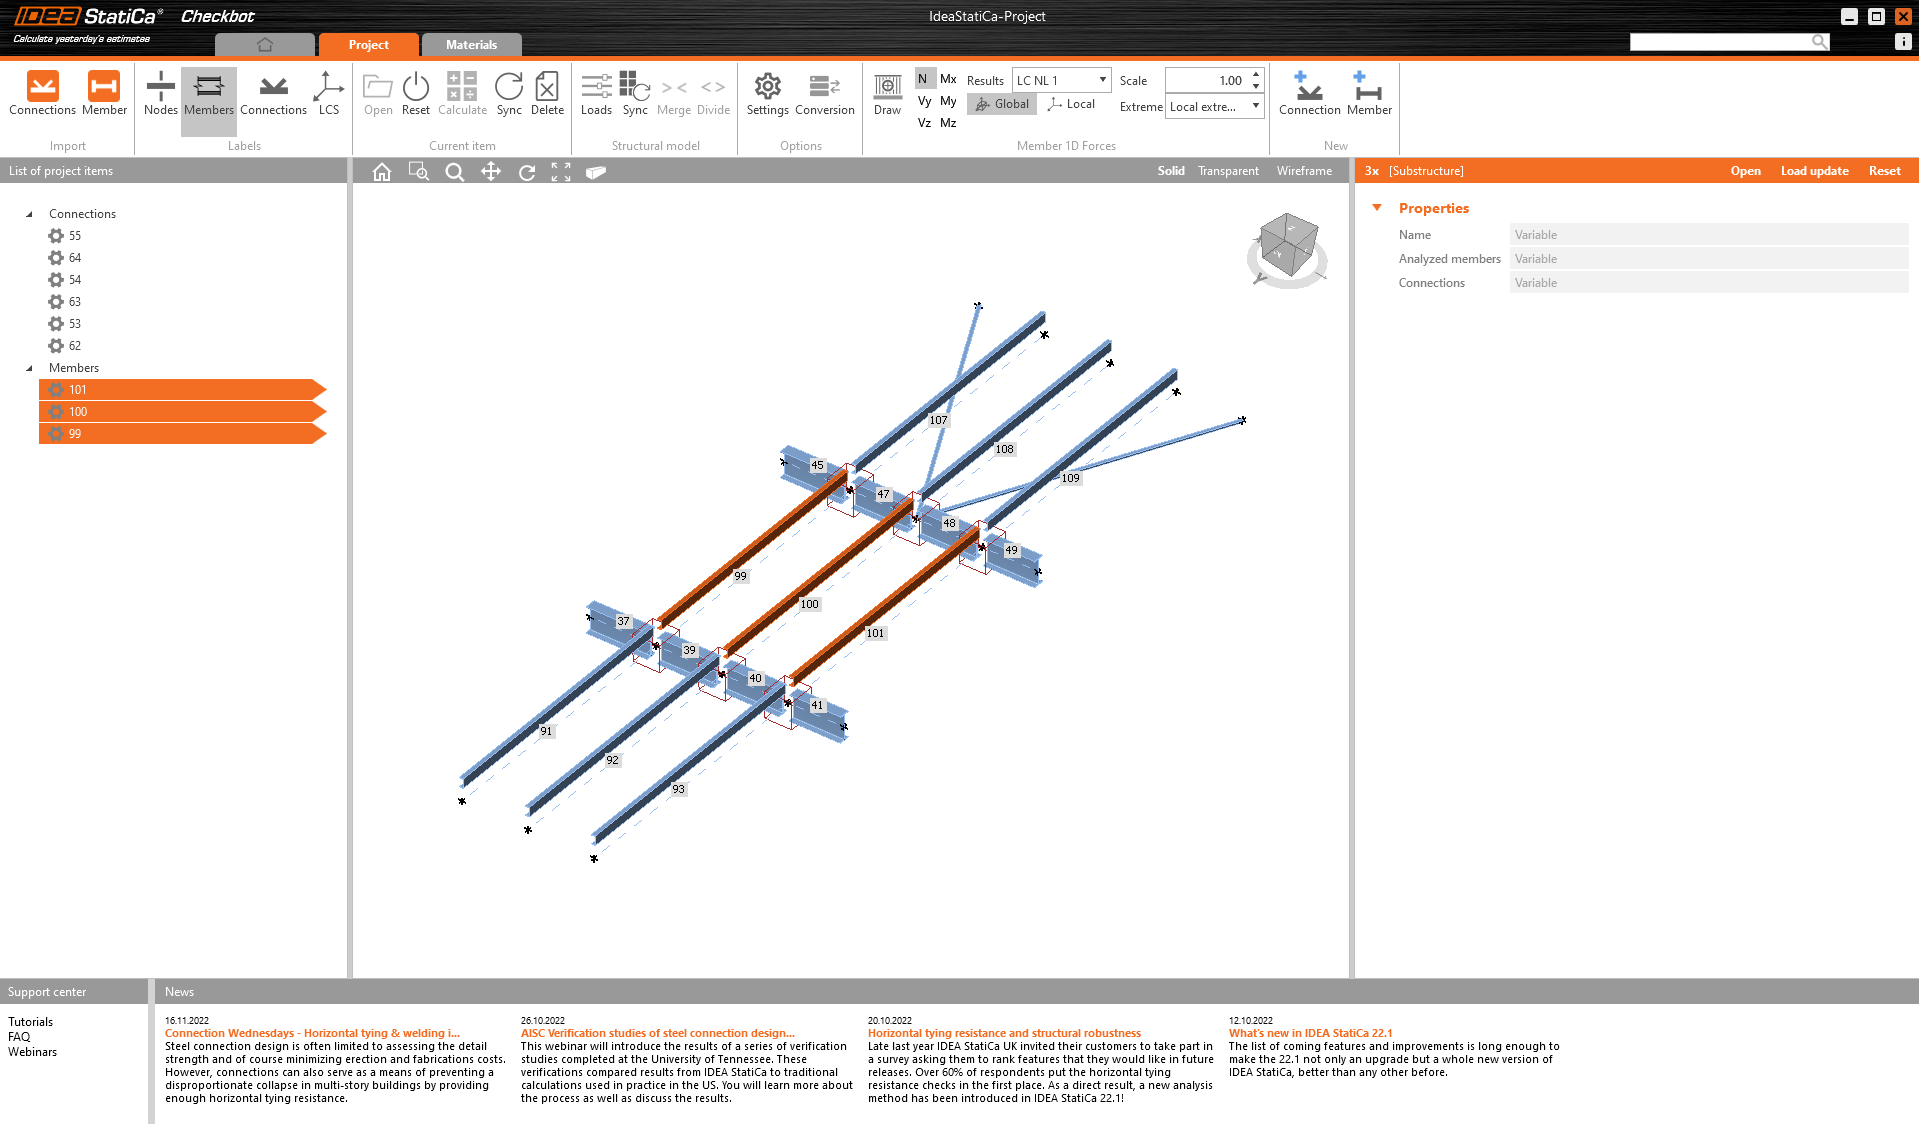
As you can see the selected member with all related members were imported.
You can check the internal forces.
Elements can be merged together directly in checkbot, then in the Member application, they will be a single continuous element.
Merge both perpendicular related members.


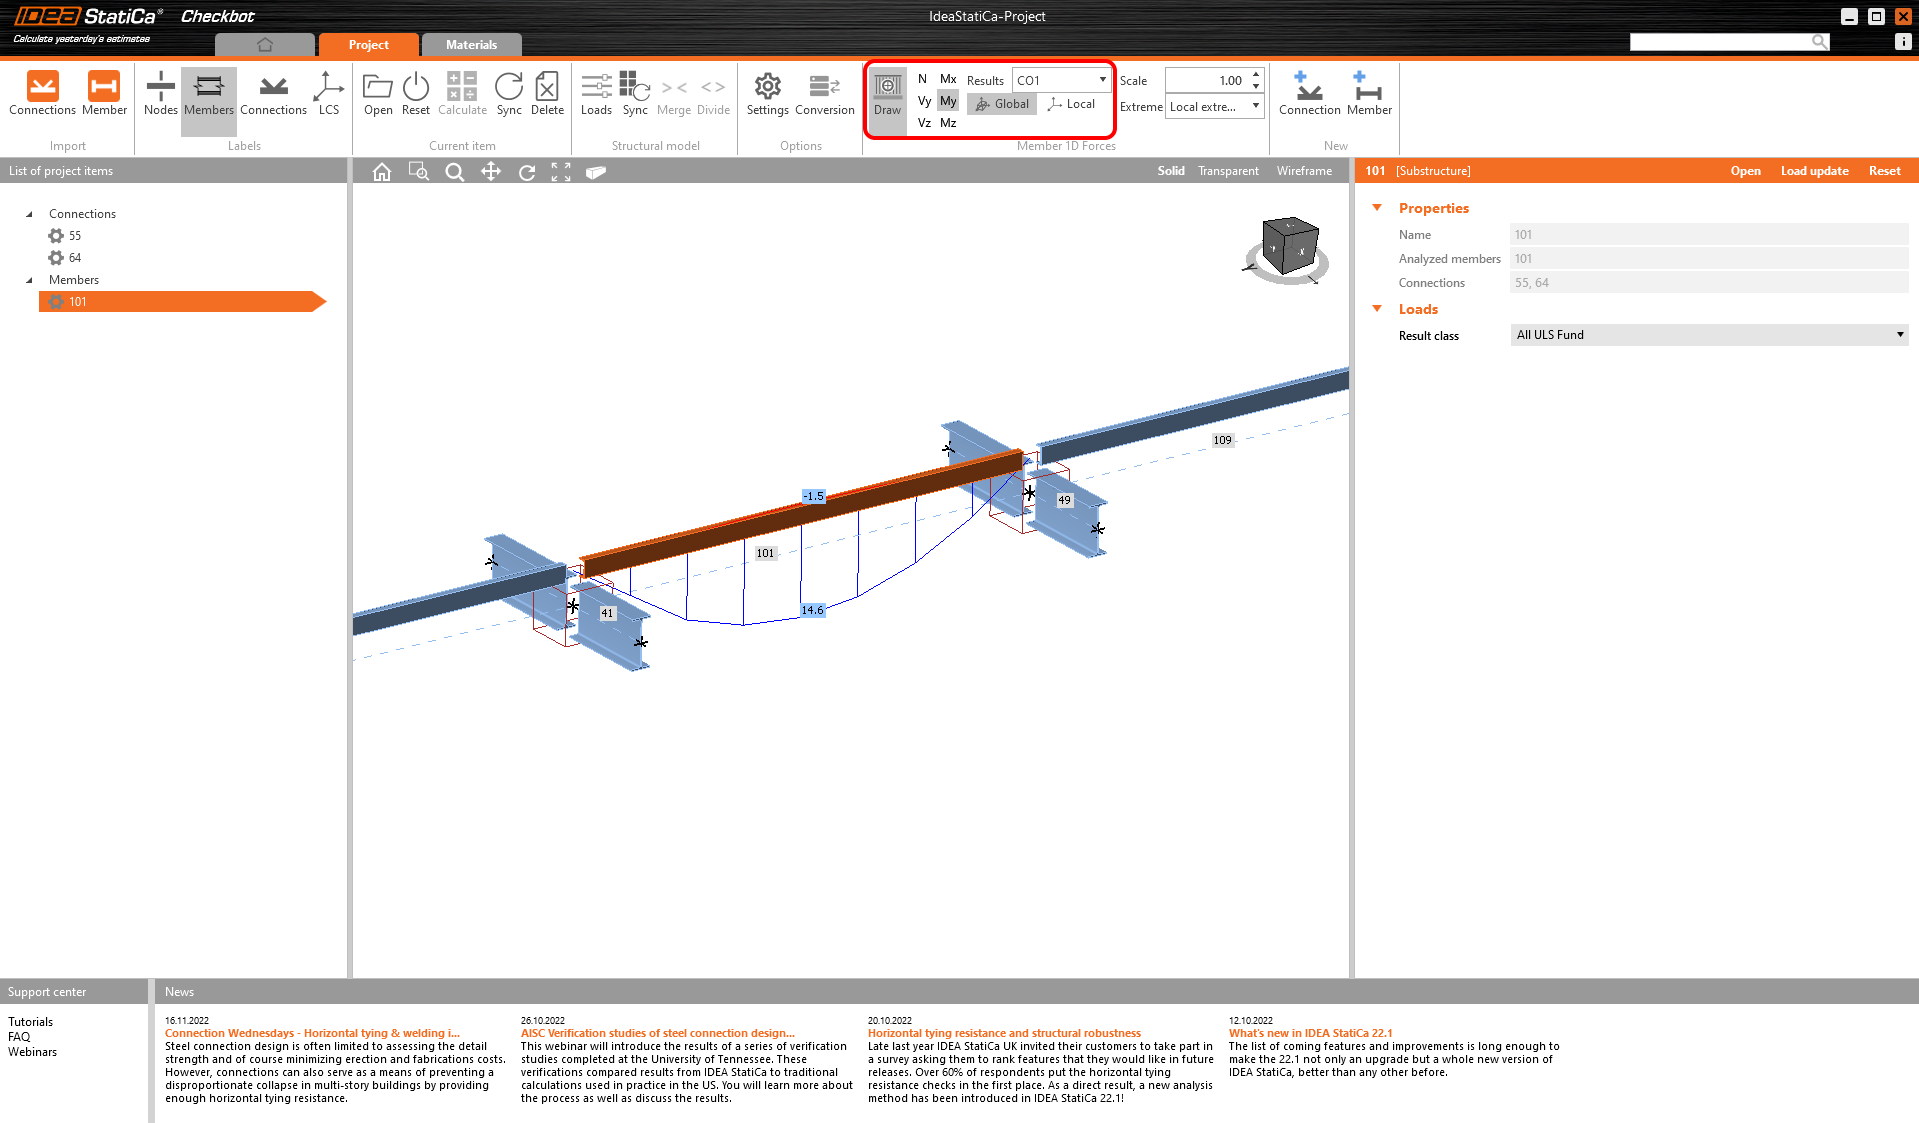
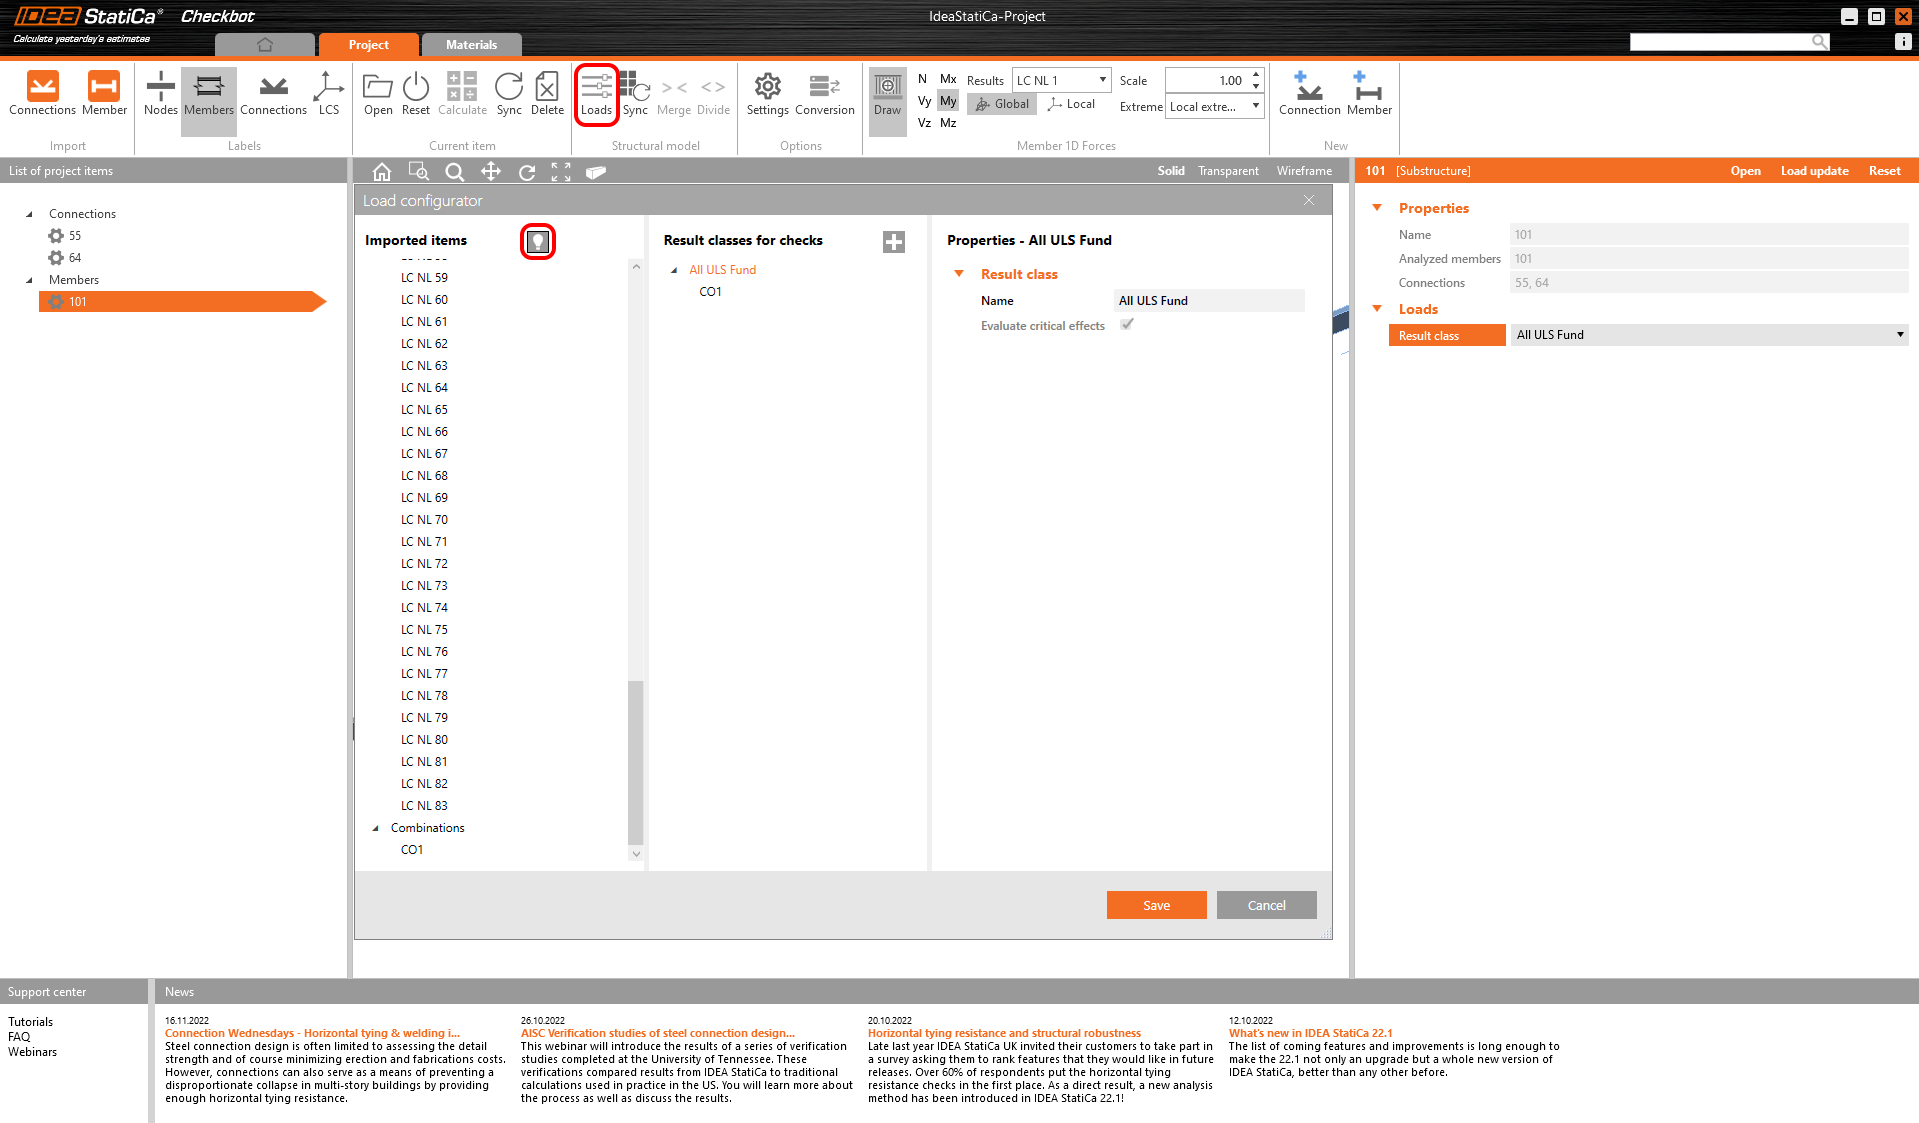
You can control what load case or combination will be loaded to the Member application by clicking on Loads and managing Result classes for checks. Creating a new result class is not needed in this case, because there has already been added one envelope combination CO1 to the result class All ULS Fund. Please note the help button in the top left area.
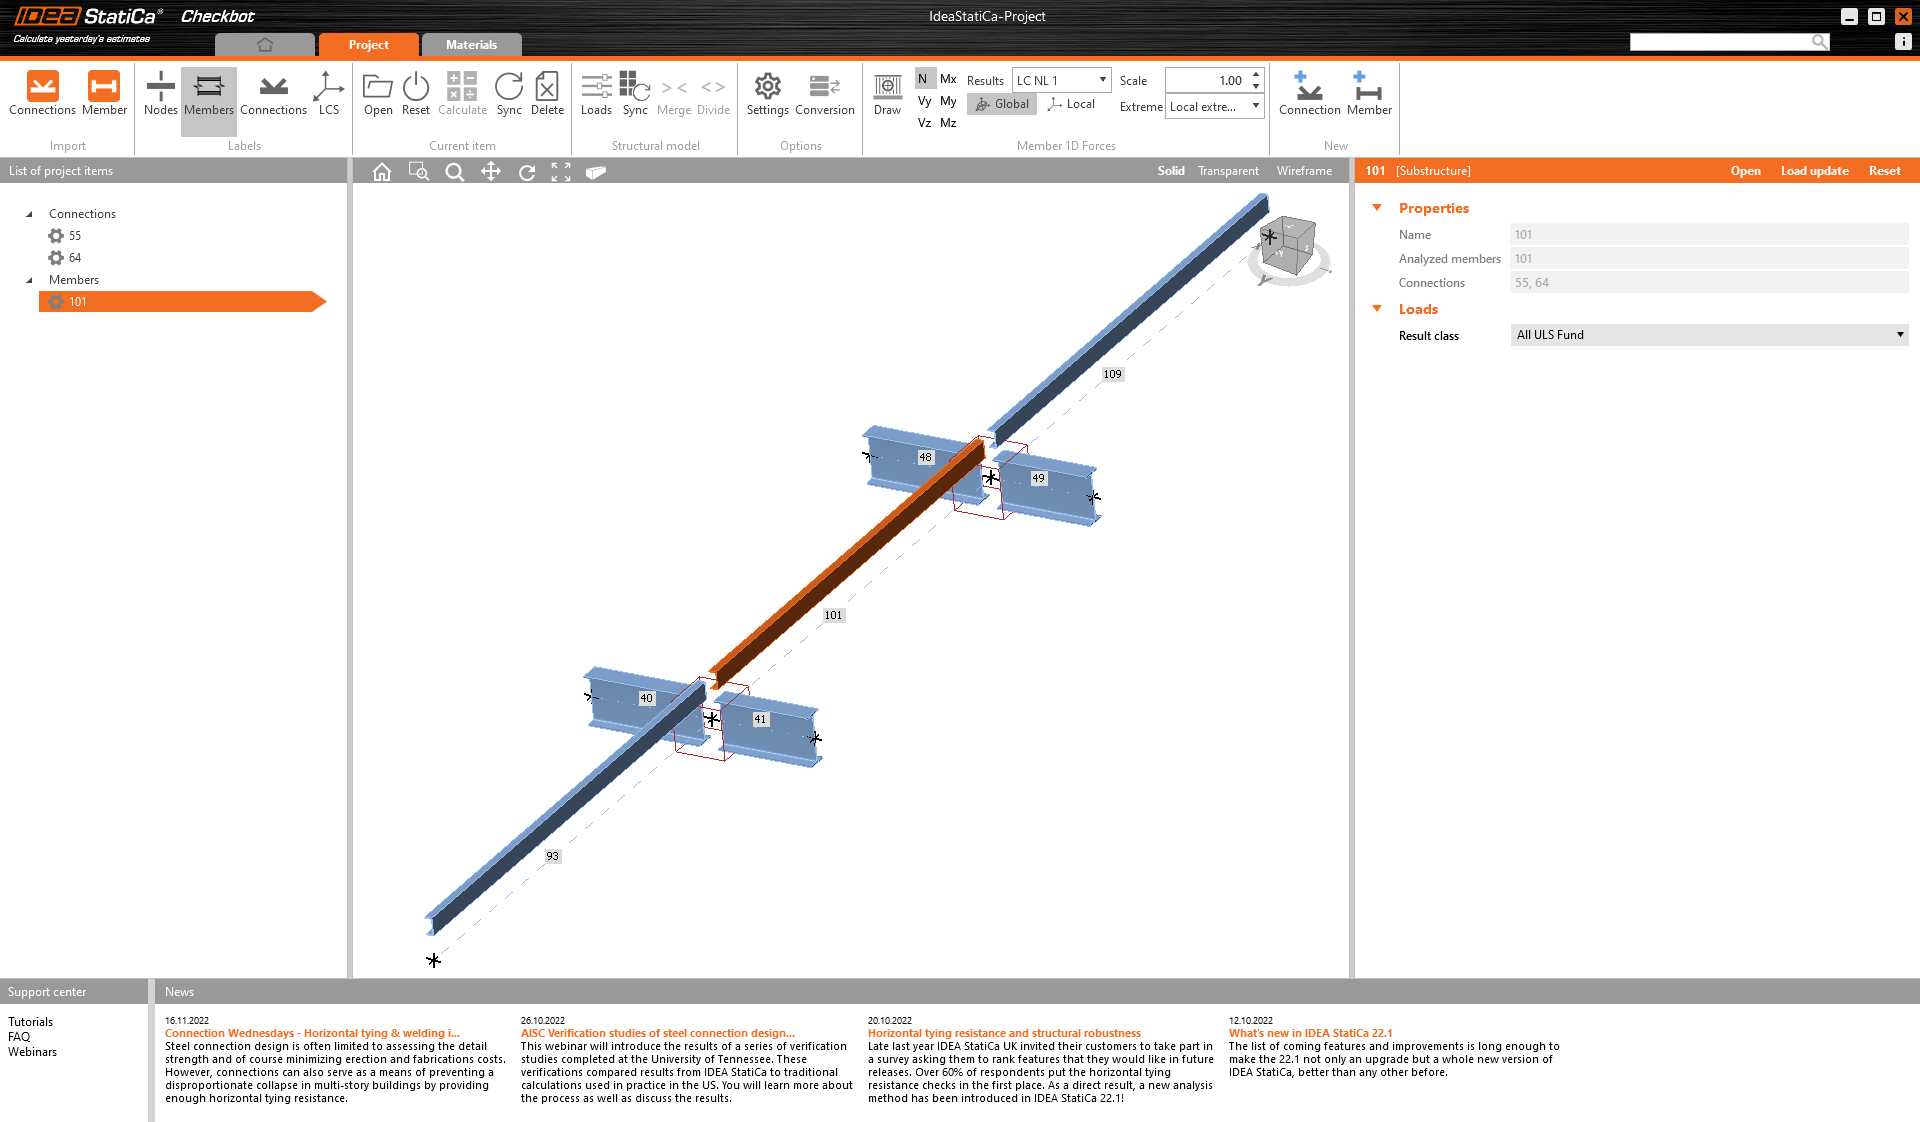
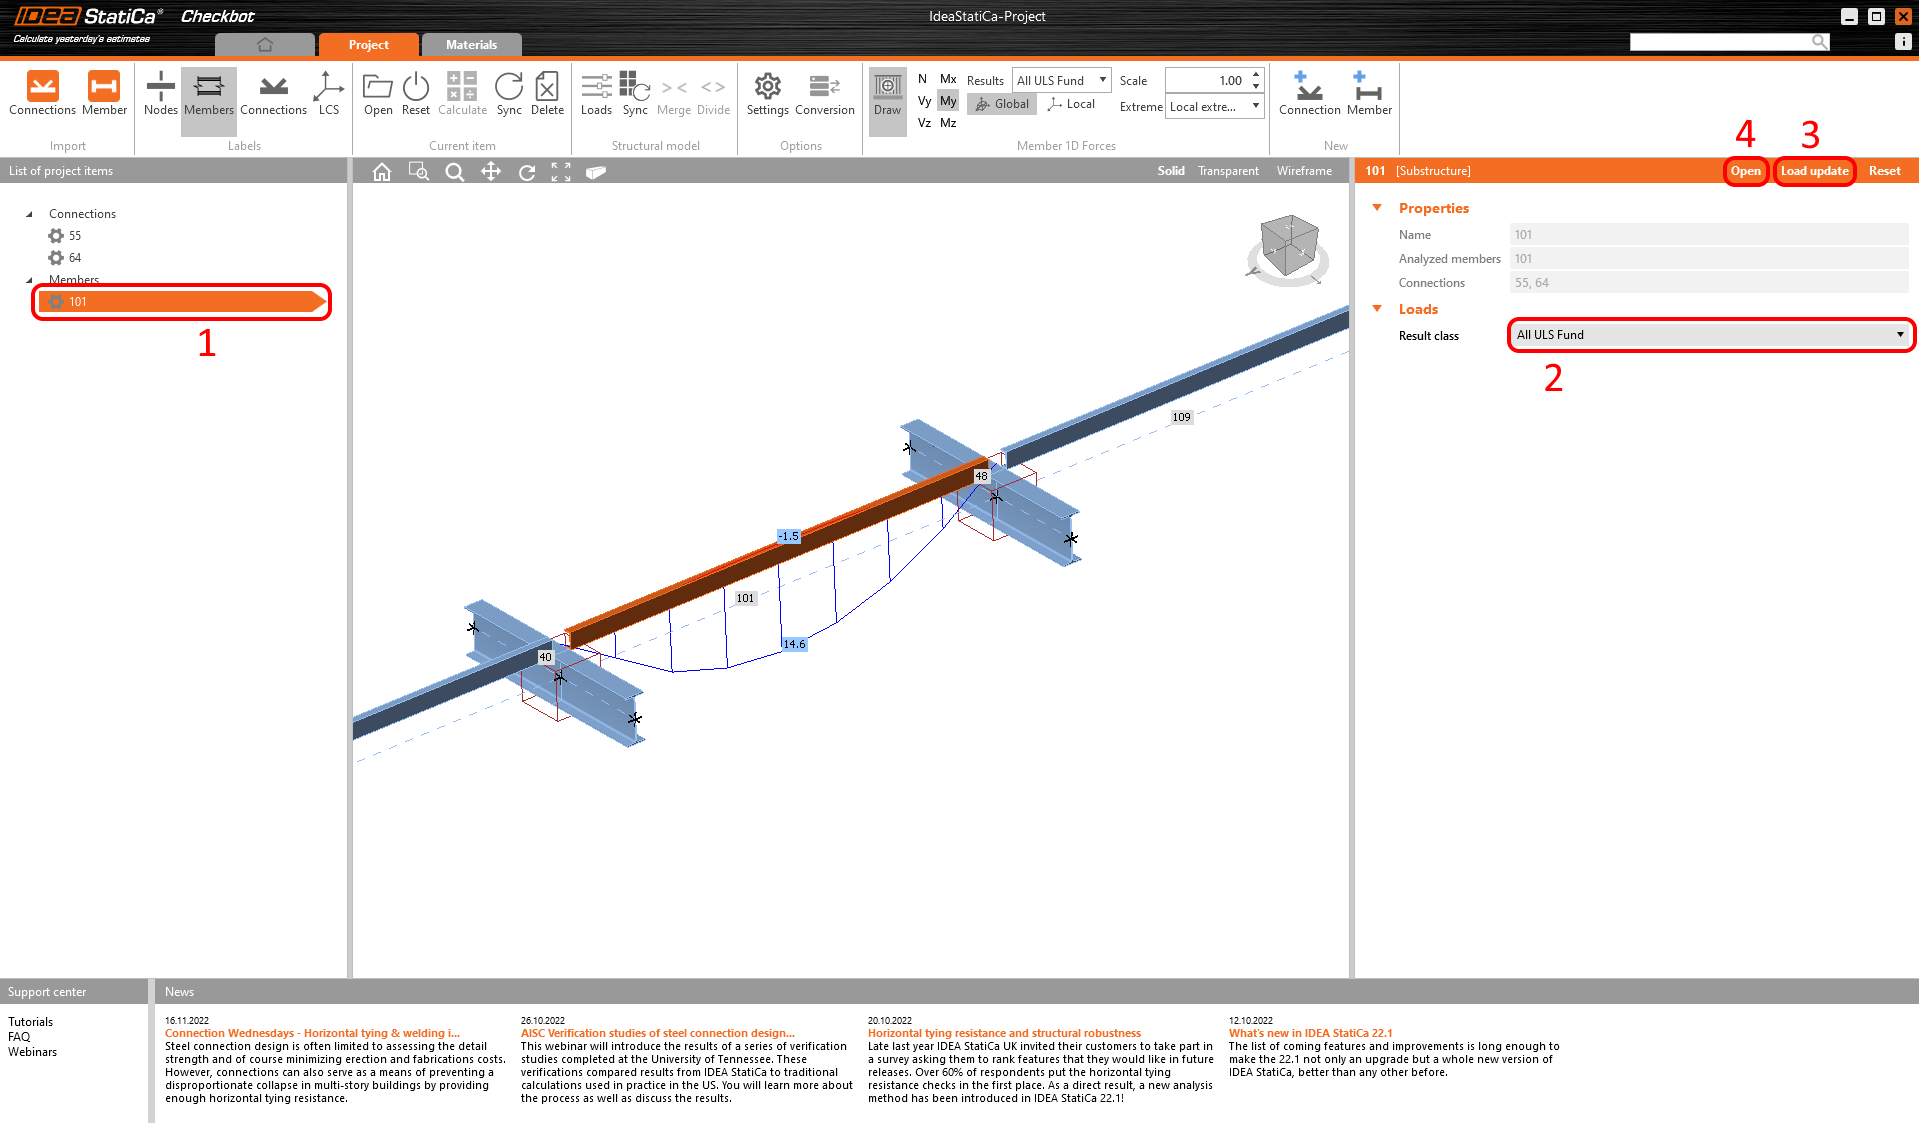
Select the investigated member by clicking on its number in the List of project items. You can select the Result class and after selecting you have to click on Load update.
Now member 101 is set. To open the Member application clink on Open
Please note the 3D workspace is designed to show an overview of the imported structure and not a detailed view.
For more information on Checkbot, see here.
For several FEA/BIM solutions, you can also import multiple members into Checkbot in the same manner as above. Instead of selecting one beam or column, you can select several members using the selection methods within the application.